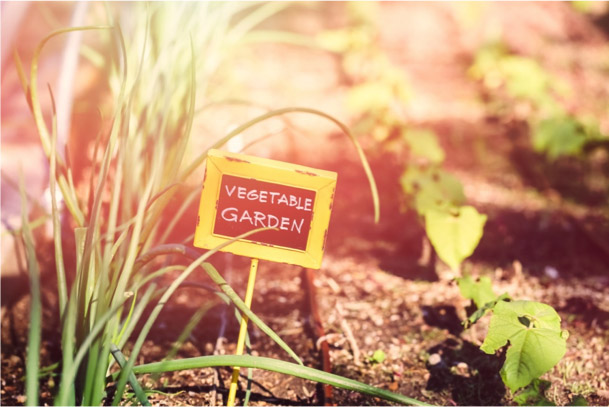
Growing your own garden is a key part of making your home more self-sustaining. One of the biggest mistakes that first-time gardeners make is not labeling their plants with garden markers. While some plants are easy to identify, others, especially herbs, or plants that grow underground, can be slightly difficult to identify right away. If you want to make harvesting much easier, it’s easy to make a few  simple garden markers with supplies that you probably have in your home already.
Painted rocks are a great, semi-permanent solution that can be used for as long as the paint withstands the weather. Simply paint the name of each plant on a small rock and place next to the row of plants that it labels; or you can go the extra mile and paint your rocks so that they look like the plant that is growing in that spot for a little extra décor.
Corks from wine bottles are perfect labels. Simply print the name of the plant on the side of the cork, and press a bamboo kebob skewer into the cork bottom; then plant the skewer near the correct plant. To make your corks go even farther, cut them in half long-ways, and label on the flat side.
If you planted from seeds, save the seed packets, and glue the packet to a popsicle stick. Then plant the popsicle stick near the correct plant, and you’ll have not only a great marker, but also the growing tips on the back of the packet. For another temporary solution, use a Sharpie marker to write the name of a plant on the handle of plastic forks or knives, and plant the sharp end in the dirt.
Of course, you can always make wooden or metallic signs that you use every year, and serious gardeners may want to do just that. But for a quick and easy way to label your plants, just about anything that can be labeled can be used to make a DIY garden marker.


My sister-in-law gave me a set of old spoons, where she had labeld them with a sharpie. They work quite well.