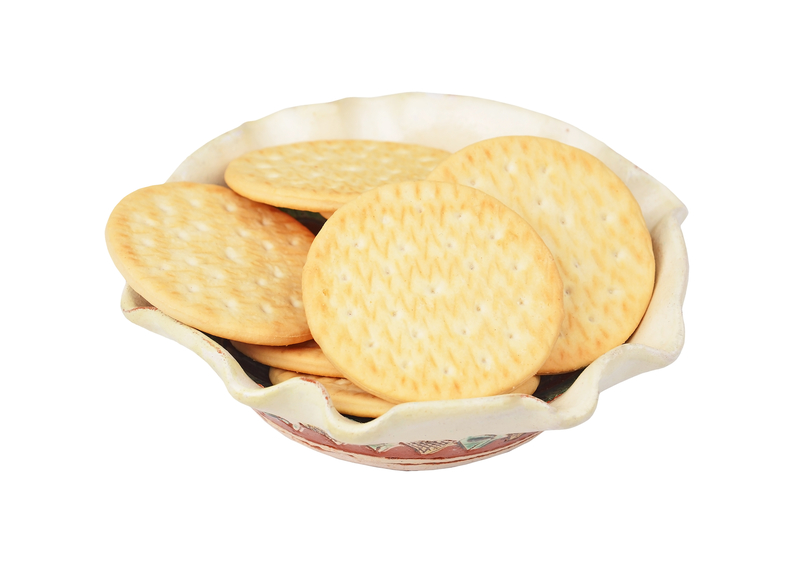
Hardtack, what is it and why is it practically indestructible? The basic version is essentially a hard cracker made from water, flour, and salt. The salt content helps preserve it, and the baking process dries it out enough that you don’t have to worry about it going moldy.
In fact, if you keep it away from moisture, it will last for ages, even under extreme temperature changes.
Long before MREs and C-rations, hardtack has been a standard part of daily rations to armies across time and the globe. To Egyptian sailors is was known dhourra cake. To countless Roman Legions, it was called buccellum. Clearly, hardtack has stood the test of time.
If you’ve ever searched for hardtack recipes, you may have come across some that also use sugar, milk, and butter. While these extra ingredients no doubt will make them more interesting, they will also shorten the hardtack’s shelf life.
So, if you are looking to stock up on a food source that won’t go bad for a very long time, its best to stick to the basics.
Ingredients
3 Cups white flour
2 Teaspoons salt
1 Cup water
Chia Seeds (Optional)
Supply List
Cookie Sheet
Mixing Bowl
Rolling Pin
Knife
Nail, Ice Pick, skewer or another pointed object
Instructions
- Preheat oven to 375°.
- In a bowl mix flour and salt together.
- Stir in water.
- Mix well until a ball of dough forms that doesn’t stick to your hands.
- Add a little more flour if needed.
- Roll out the dough on a flat surface dusted with flour. Flatten the dough until its less than ½ inch thick. NOTE: If the dough is thicker than a ½ inch it won’t bake well.
- Cut the dough into squares.
- Using your sharp object, make a 4 x 4 grid of holes centered in each square, just like a cracker.
- Place each piece on the ungreased cookie sheet, spaced evenly apart.
OPTIONAL: Sprinkle chia seeds over the pieces right before putting the cookie sheet into the oven. Lightly pat them into place to stick. This will add extra nutrition to the hardtack without affecting the longevity.
- Bake for 30 minutes.
- Flip the pieces over.
- Bake for 30 more minutes
- Remove from oven and let cool completely before storing so no moisture can build from the contained steam coming off the pieces.
When cooked properly, the pieces should be slightly brown on each side.
Since climate can affect baking times and ovens also vary, you may have to experiment a little on the best cook time for your location and appliance. For best results the first time, check them periodically to avoid burning and take note of how long it takes for each side to brown.
Once the pieces are cool, they will be practically rock hard.
For best result when eating, pair them up with a bowl of soup to dip them in versus trying to munch on them dry. For breakfast, you can use milk or fruit juice to dip them in as a sort of cereal on the go. Other dining options include heating a piece up and topping with butter, preserves, syrup or peanut butter.
This recipe, when combined with optimal storage, will allow your hardtack to last for years. Ideal storage it relatively simple since it can withstand severe temperatures. The key is keeping hardtack aware from any moisture until your ready to consume it.
Its longevity makes it the ideal food to “set and forget” until you need it. Keep a bagful in your pantry, emergency food supplies, and stashed in your vehicles for a quick snack or to have in case of an emergency away from home.


