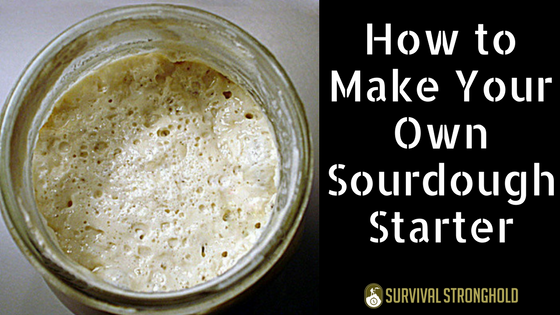
The art of breadmaking is an ancient one, and what is commonly known as “sourdough” is really just the most commonly known version of the way people would naturally leaven bread before commercially available dry yeast packets were available.
Now, what does this have to do with survival, you might ask? Well, the short answer is, of course, do you expect to be able to buy dry yeast packets after a big disaster? Probably not…but that also might not necessarily be on the top of your list of concerns, either.
The long answer is more about the spirit of survivalism and self-reliance in general. Breadmaking is one of those things that has largely faded out of modern life, yet for some reason, many stick to the practice to preserve this ancient artisan skill.
Creating your own sourdough starter and making your own bread is a great way to be a bit of an urban homesteader, especially if you don’t have too many options as far as gardening or raising chickens. It is one small way that you can literally grow your own, and it requires nothing but flour, water, air, optional honey, and time, to create.
And of course, you never know! Breadmaking might be a very marketable skill in a post-disaster, barter-based economy.
Naturally leavened, homemade breads like sourdough are also much healthier than store-bought, as well as cheaper than fancy health food loaves. It’s a simple way to take control of a small part of your diet, and DIY in a very big way.
Here’s how:
What you need
Jar
Paper towel, napkin or cheesecloth
Unbleached, organic, white flour
Honey (optional, but it will help tremendously)
Filtered water
Instructions
- Measure 1/2 cup flour (doesn’t have to be exact) into your jar
- Spoon in about 1 tbs of honey, and then pour in a bit of water, maybe about half the volume as the flour.
- Stir to combine. If it is too sticky to stir, add more water, but you want it to be relatively thick.
- Cover with your paper towel or cloth, and secure with a rubber band or twine.
- Let sit overnight. In the morning, stir again.
- Stir frequently, every 6-12 hours, until you begin to see bubbles appearing and the mixture begins to double in size. If a thin layer of liquid, called “hooch” appears on the top, stir in more flour, and water if necessary, and repeat the process.
- The culture is active when it is bubbily on the top and throughout the jar (a clear class jar is important for this reason). At this point, you can transfer to the refrigerator to “rest”, and reactivate by adding more flour and stirring until active again, OR you can use as your natural leaven for breadmaking!
- To use in bread, follow any recipe for sourdough bread and use this as the starter culture.
Enjoy!
Are You Prepared for This Deadly Threat?
Complete Health Transformation Without Drugs or Surgery…
Having Trouble Sticking With Paleo?


