You don’t need to have table manners when you are struggling for survival in the wilderness. But you may need to have some utensils. If you have gotten lost, stranded because of weather or an accident, then you might not have your gear with you. This might leave you without a container for water. It that is the case you will be at a great disadvantage since you will not be able to transport water to consume later, and if you are getting your water from a vine like we talked about yesterday then you be lying on your back with your mouth open for an hour or more. This is not a situation you want to be in, you want to be able to manufacture a container that can hold water from material available to you in the wilderness. Here are instructions for how to do just that.
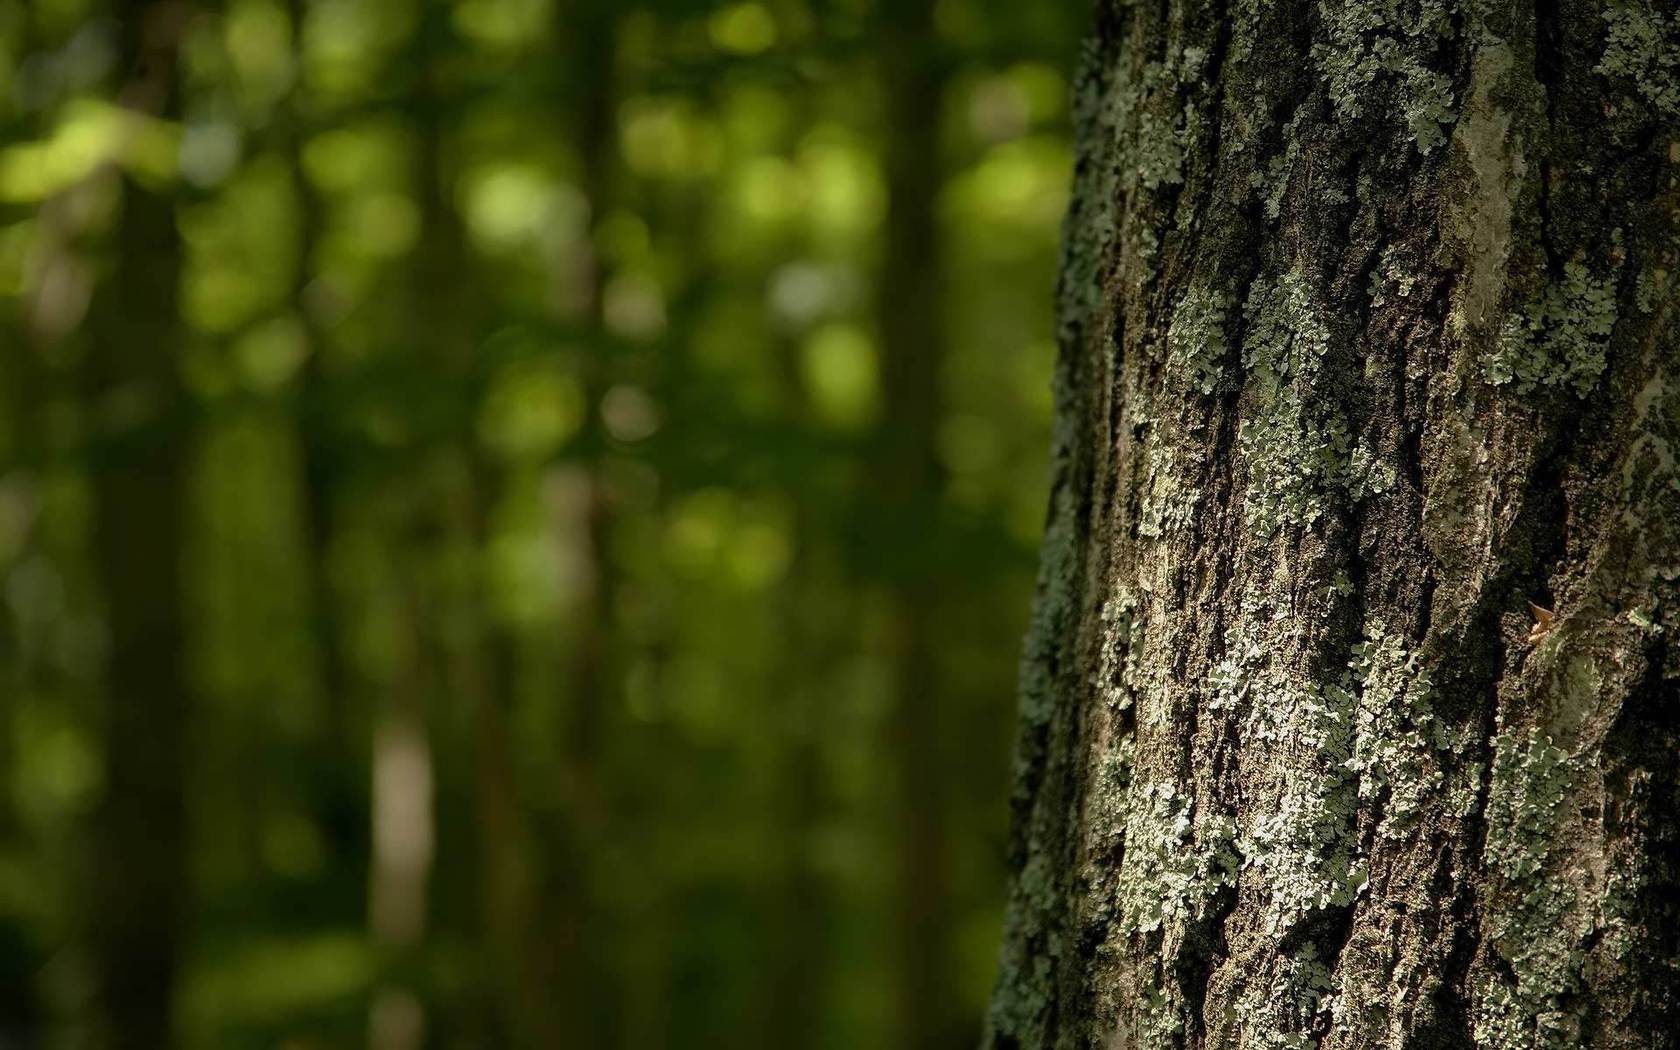
- Locate a suitable tree, ideally a birch tree with a diameter of about 12 inches and a section of 18 to 24 inches without knots or blemishes.
- Make a cut that goes all the way around the tree, the cut needs to be perfectly level, then make another level cut all the way around 2 feet above or below your first cut. Make a straight cut that connects these two cuts, then carefully peel off the bark. This should give you a square or rectangular section of bark.
- Peel off the outer layers of park carefully, you don’t want to make a hole or a weak point. The outer side of the bark will make the inside of your bowl.
- Now start to pinch in the corners of your bark square, if it is cold outside you might need to work them a little more carefully. Once all four corners have been pinched it should start to take a bowl-like shape. Make sure that they are all even and then fold the sides up. In order to hold the sides up you will need to manufacture some “clothes pins” from green sticks the diameter of your fingers and about 6 inches long. Simply make a cut in one side that extends nearly half of the length. Then slide these over the folded corners of the bowl to hold them in place. If you are feeling particularly crafty you can use sticks to form a frame for the top of your bowl instead and then use cordage to sew carefully sew it to the bowl, this will make it much stronger but it will take time and skill that might not be available to you at the time.
- Your bowl should be ready at this point, but if the bark was a little stiff or if you had a knot in it, or if you want to make your bowl to last, you will want to seal the corners with resin. Gather hard pine or spruce resin from injured trees, place it on a flat rock near a fire until it liquefies. Spread the liquefied resin using a stick on the seams of your bowl.

Remember that buying gear doesn’t necessarily mean that you will have this gear with you when you need it most. Always practice techniques like this that give you the skills to manufacture the gear you need for material available.
If you liked this, you might also enjoy…


