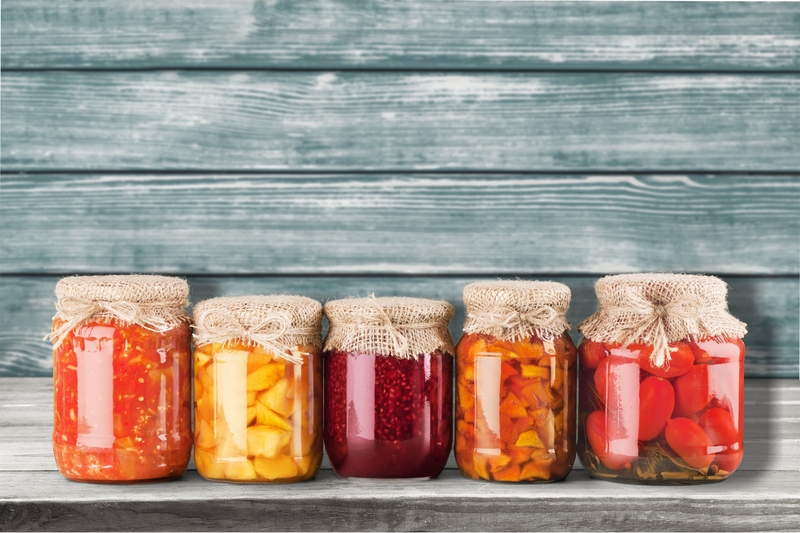
Survivalists and preppers know that an ideal pantry is filled with long-lasting food supplies. While you can purchase canned fruits and vegetables, there’s nothing quite like handling that task yourself. Plus, if you can items that you grew yourself, whether in a backyard garden or in a community garden, you are that much more self-sufficient. This really proves that you’re able to survive just about any disaster. Before you begin the canning process, go over these four tips.
1) Grow your foods yourself
In order to be a true survivalist, you need to know how to grow your own food out in the wild. A backyard or community garden is a good way to practice this. You also have the added side benefit of knowing exactly what went onto your crops, as far as pesticides and other things are concerned. This is rather important if you’re a steadfast believer in all-organic foods since you are in control and can choose to use only organic methods if you want. It’s better to be prepared.
Suggested Article: The 7 Major Ways of Preserving Food
2) Use the right canning supplies
Canning supplies are fairly simple, right? All that you need are glass canning jars and lids with bands. This is sometimes where people go wrong, believing that they reuse old supplies from previous years, or even the ones that have been sitting in someone’s basement for a period of time. While you can reuse the jars themselves, you’ll need to buy all new lids and bands. They become warped once they are heat-treated the first time, and won’t seal properly again. If you do try to reuse them, even if you hear the lids “pop” after filling and processing the jars, you still might end up accidentally giving yourself food poisoning. You always need to buy and use new lids and bands. Also, always double check to ensure that they fit the jars tightly before beginning the process.
3) Purchase a pressure canner
There are two different home canning methods – water bath canning and pressure canning. Pressure canning requires special equipment, but the results are worthwhile. The foods that you canned will last longer, and you’ll be able to process things that aren’t highly acidic. Yes, water bath canning is slightly simpler, since all that you need is a large pot to boil water in, but it limits what you can process to only highly acidic foods. Also, the results won’t last as long and will need to be eaten more quickly.
4) Practice your recipes beforehand
You don’t want to end up with inedible canned food. In order to avoid this, always test your recipes beforehand. Once they are perfected, you can go ahead and make a big batch of each recipe to can. If you aren’t sure where to begin, do a few Google searches to find recipes. There are plenty of them out there for homemade jams and jellies, canned vegetables, and even sauces. Feel free to switch them up slightly by changing the spices and seasonings to make them yours.
Related Article: DIY Canned Green Beans
Before you start canning your recipes, make sure that you’re fully prepared and have everything that you need. All of the physical items (except for the fruits and veggies that you glean from your own garden) can be purchased at many different stores. Plus, since your home canned items will last you for a while, you’ll be more than prepared for anything that might be thrown at you. Don’t take the chance of ending up with a shortage of food.


