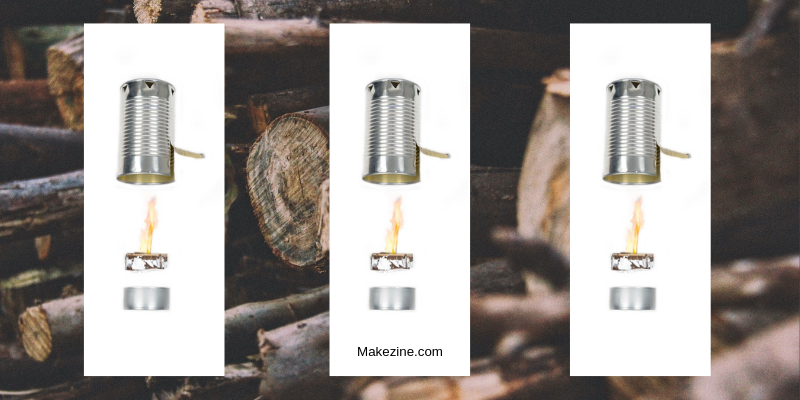
Tin cans are for more than just storing food – they can also be turned into makeshift stoves. This is a common Boy Scout trick that’s utilized by outdoorsmen, survivalists, and campers. These small stoves are lightweight and easy to construct, although they do have a downside, as each can only be used once. The next time you’re preparing to head into the woods, you should make a couple of them to take with you. They’re very easy to construct!
Gather Your Supplies
In order to make a tin can stove, you need several things: tin cans in two different sizes, a can opener with a church key on one end, tin snips, work gloves, a cookie sheet, aluminum foil, small candles, cardboard, a double boiler, and heavy duty scissors. It’s best to gather all of these things before you start making the stoves, that way you won’t have to hunt for anything in the middle of the process.
Prepare the Cans
Start by washing and drying the cans. You should also remove any paper labels on them, especially on the smaller cans, as those will be placed inside of the bigger ones. Put on your work gloves to protect your hands. Use the church key end of the can opener in order to punch a series of four or five holes around the base of the bigger cans. The holes should be about one inch apart. After this is done, completely remove the lid of the can, if you haven’t already. Then, use the tin snips to cut two three-inch slits on the other side of the large can (where you just took off the lid.) These slits should be approximately three inches apart. You’ll use them to control the amount of oxygen that the fire receives.
For the smaller cans, cover a cookie sheet in aluminum foil and place them on top of it.
Police urge citizens to protect themselves with THIS>>>
Getting the Stove Ready
The next step involves preparing the smaller cans, which will work as the stove. You’ll need to slice the cardboard so that it fits inside of each can. You have two choices here. You can either set it up so that the cardboard is rolled inside of the stove in a spiral pattern. You can also cut it into smaller strips and place them at angles to each other, with them crossing in the middle. This pattern resembles a pie that’s been sliced.
Related Video: DIY Copper Coil Alcohol Stove
After you have the cardboard nestled inside of the cans, it’s time to melt the wax. Pour some water into the bottom half of your double boiler with the candles in the top pan. Place the double boiler on your stove (not the tin can one, obviously) and turn it on. As the water boils, it will melt the wax. Remove the strings from the candles as the wax begins to liquefy. Once it reaches a fully liquid state, it’s time to pour the wax over the cardboard in the small cans. Allow the wax to harden.
Using Your Stove
In order to use your tin camp stove, you need to place the smaller can on a hard, flat and non-flammable surface. Then use a lighter to set the cardboard aflame. The wax will keep the fire steady as the cardboard burns away. Once the smaller can has been lit, just place the larger can over it with the strips facing down and the end with the punched holes facing up. This provides you with a nice cooking surface. You can even place a small pan on top and use it to heat up a meal.


