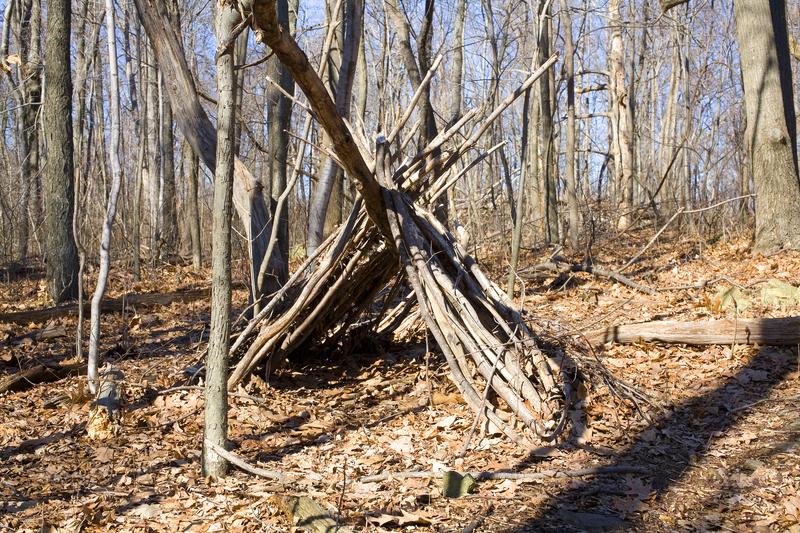
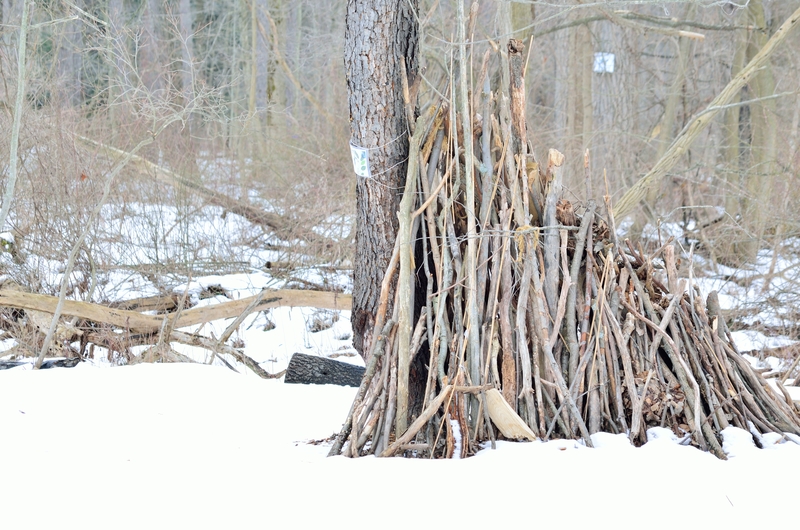
The lean-to shelter is probably the most common shelter suggested in the various survival guides that are out there today. Its simple design is relatively easy to accomplish and there is any number of supplies you can use to create a successful shelter from the wind and rain.
If you are fortunate enough to have a tarp, emergency blanket or even just a bunch of large plastic bags and some duct tape, along with some rope or twine (or more duct tape) you can put one together in a matter of minutes.
If you are stuck in the middle of nowhere with little to no supplies, construction may take longer, but a serviceable covered area can still be created using the materials available.
When getting started, try to scout a location that avoids loose branches overhead that could come crashing down in a brisk wind, and is preferably in a relatively protected area. If you can find a preexisting structure, like a rock wall face, over cropping, or large fallen tree, this will add to the wind protection and give you a very solid base to support your structure. If not, try to find 2 trees that are standing close together. These will be used as the support poles that hold up the ridge pole, or cross piece.
Once you have your location and know what you will need to make your structural pieces, start gathering available branches, leaves, grasses and anything else you can. As you are gathering, keep a lookout for a strong, straight branch that will be able to hold shape under the weight of the other materials you have.
 If you are using the 2 trees method to create a frame, this will be your ridge pole. When you have found that, use what’s available to lash the pole, one end to each tree you’ve selected to be your side poles. If you don’t have ready rope, twine or other cordage available, try to find some vines, ground cover greenery or tall grasses. If those aren’t available, try using your shoelaces.
Keep in mind when placing your cross piece, the larger the area under the shelter, the harder it will be to heat it. A good rule of thumb is to make your roof only as high as you need to sit upright under it. This will keep the air space at a minimum and easiest to warm up.
Related Article: “3 Great Shelter Options For Surviving Unexpected Situations”
Once your cross piece is in place, place the ends of your other branches across the ridge pole so you create a triangular shape under the area. Fill in the gaps with smaller branches, grasses, and leaves. You will end up with a walled area that looks like half a roof. Once this main wall is completed, you can create side walls the same way using gradually shorter branches until you reach the lowest end of the triangle.
Gathering rocks for a fire surround to put at the open side of your shelter will provide 2 benefits, initially, they will provide wind protection for the fire, then later they can be used within the shelter for extra warmth. If you can find extra rocks, you can heat them in your fire then place them inside the shelter, turning them into mini space heaters. Just be careful of dried leaves and branches that could fame up if they come in contact with a hot surface.
Overall, a survival lean-to may not be the greatest or warmest shelter, but in a survival scenario, it’s easy construction and ability to protect you from the elements can make it the difference between dying from hypothermia or living long enough to be found.


